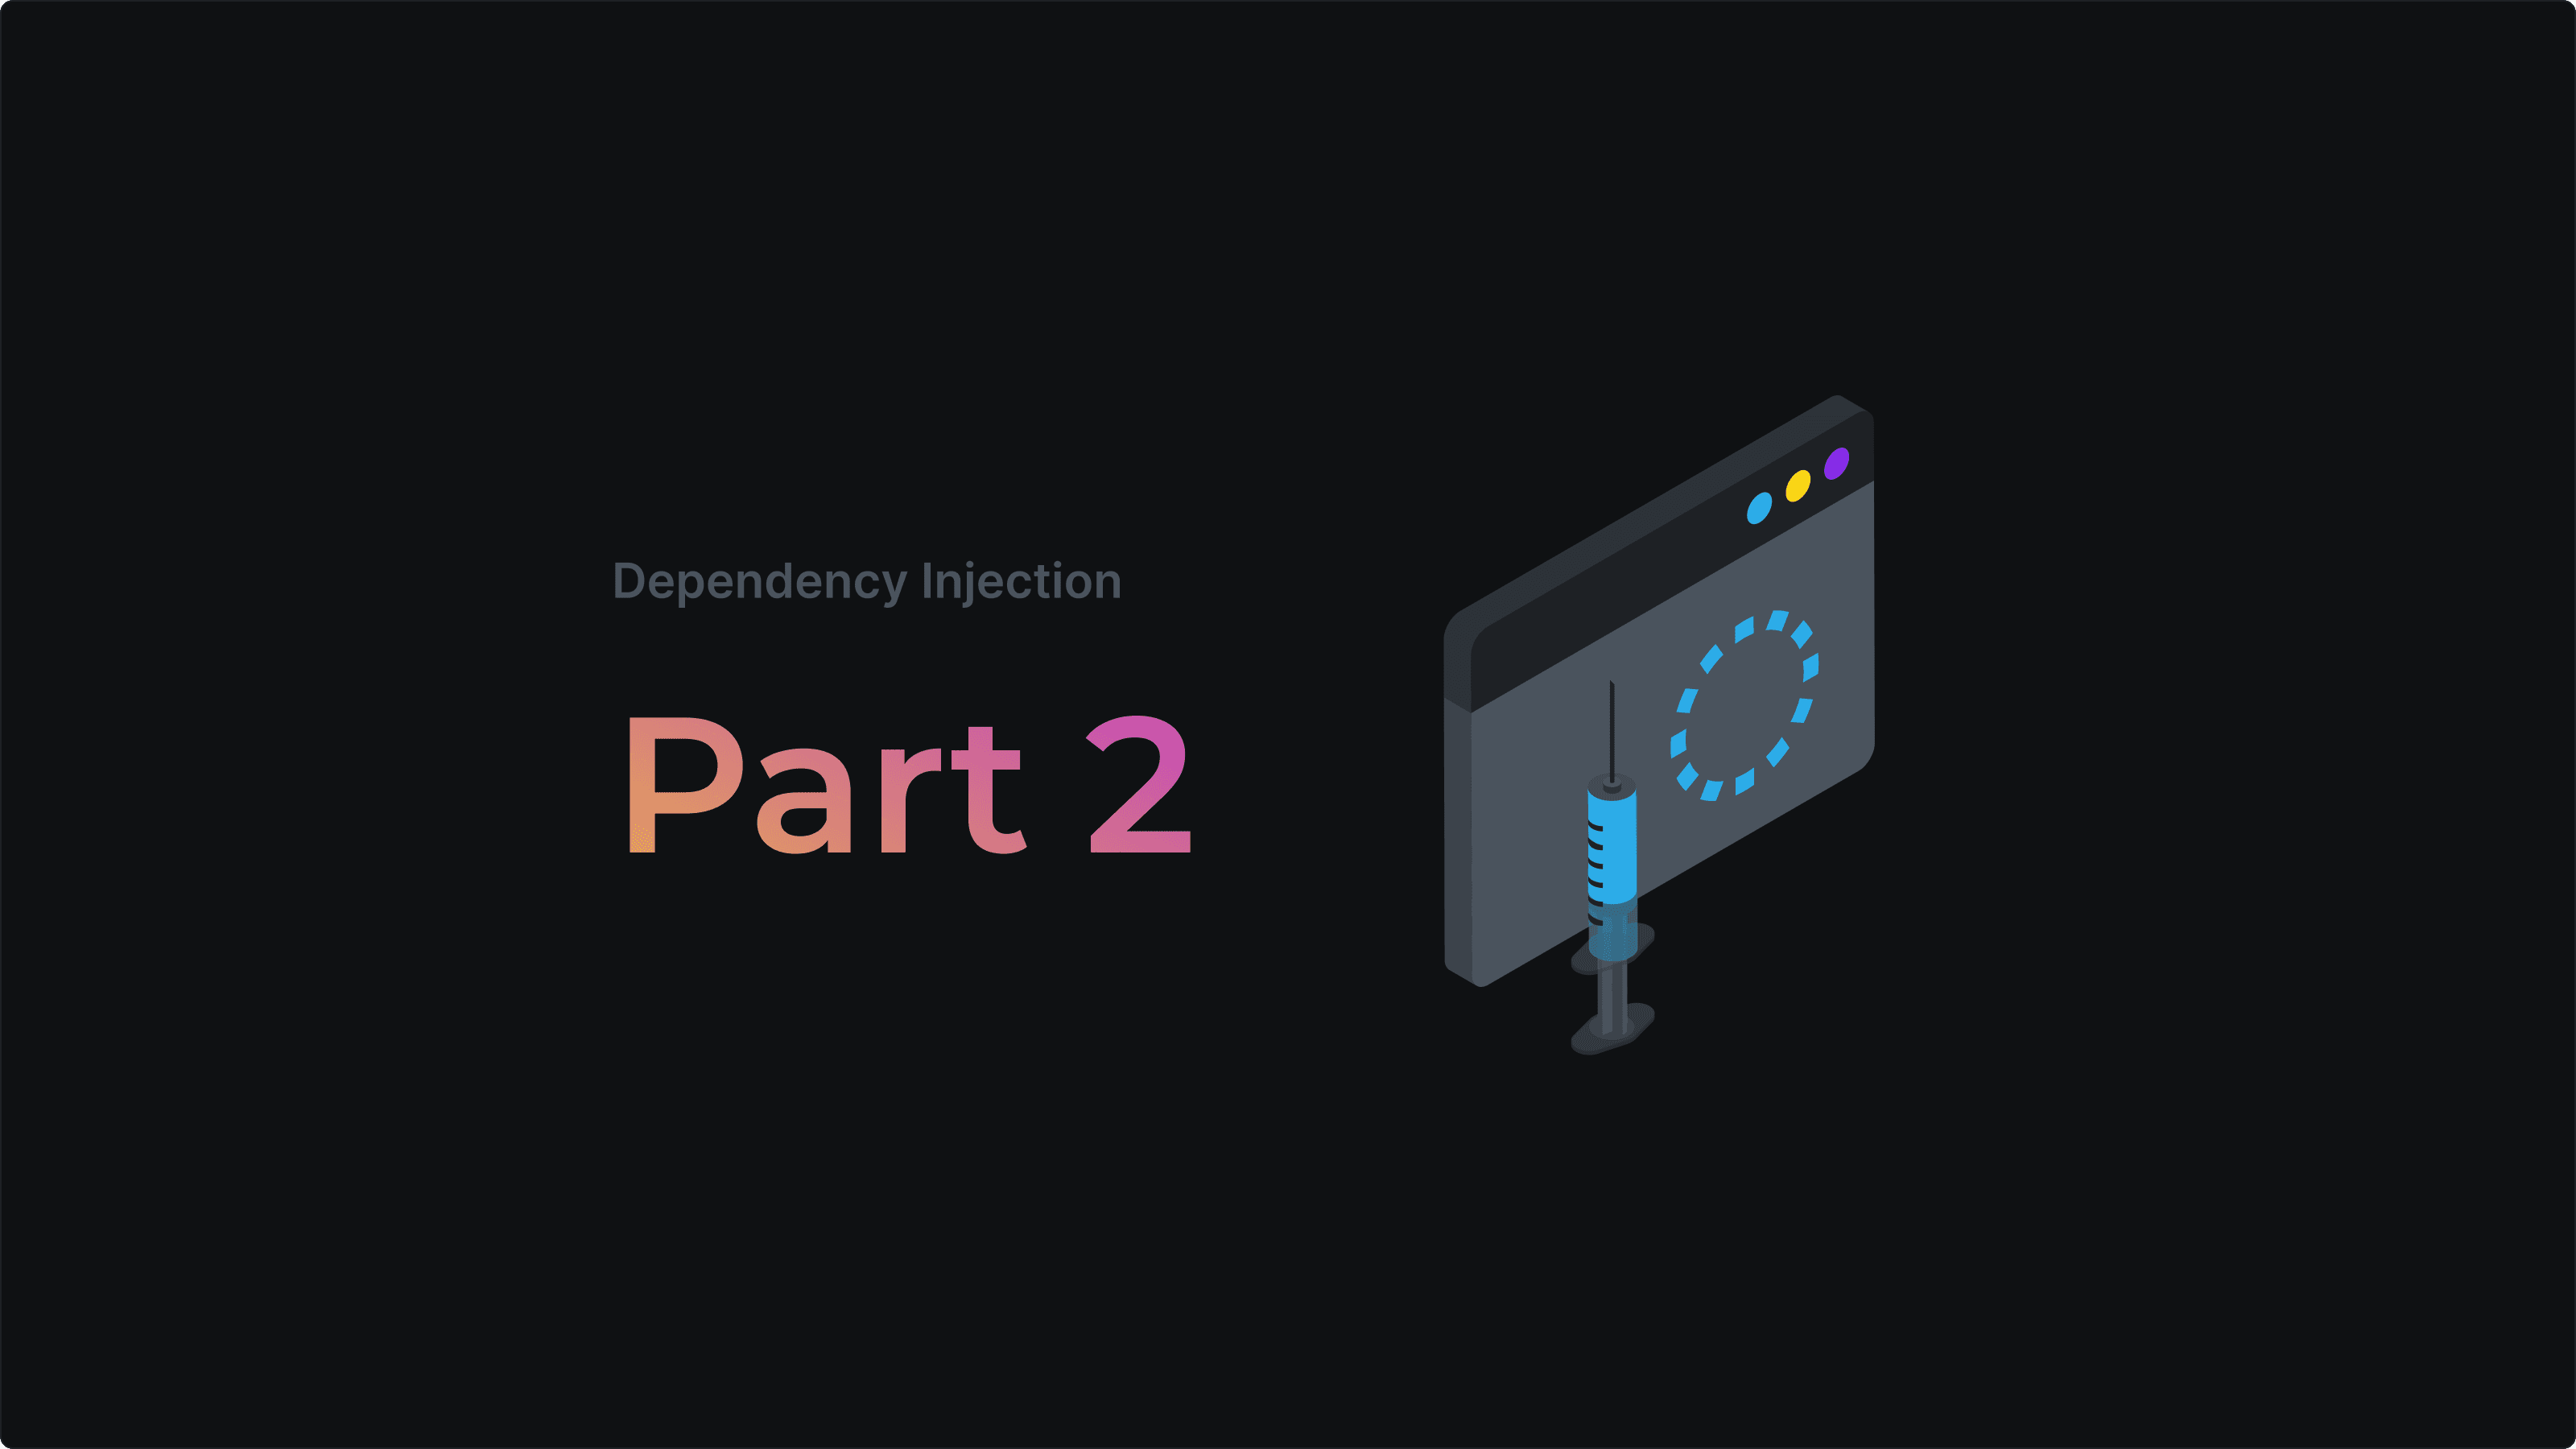
Ultimate Guide to Dependency Injection in Android — Part 2. Manual DI and Practice
In this article, I’m going to reference some points from the first article. Read it first if you want to have the complete picture.
In software development, dependency injection is a technique that allows you to decouple components and improve the testability of your code. Dependency injection can be done manually or through a framework. In this article, we’ll focus on manual dependency injection in Kotlin.

Manual Dependency Injection
Manual dependency injection is the process of manually creating and managing dependencies in your code. In this approach, you define the dependencies in a container or a factory and then inject them into the classes that need them.
Diving into manual DI
Consider the following code snippet that initializes the ShopViewModel class inside an Activity.
class ShopActivity: Activity() {

private lateinit var shopViewModel: ShopViewModel

   override fun onCreate(savedInstanceState: Bundle?) {
       super.onCreate(savedInstanceState)

       val db = Room.databaseBuilder(
           applicationContext,
           MyDatabase::class.java, "my-database-name").build()

       val localDataSource = ShopLocalDataSource(db)
       val remoteDataSource = ShopRemoteDataSource()

       val shopRepository = ShopRepository(localDataSource, remoteDataSource)

       //used in multiple places in the app
       shopViewModel = ShopViewModel(shopRepository)
   }
}
The ShopActivity class initializes the ShopViewModel class by creating instances of Room, ShopLocalDataSource, ShopRemoteDataSource, ShopRepository, and finally ShopViewModel. This approach tightly couples the ShopActivity class with the ShopViewModel class, making it difficult to test and reuse the ShopViewModel class in other parts of the application.
There are several problems with this code:
In order to create
ShopViewModelwe need to initialize all of the other dependencies first in sequential order.In case we wanted to use the
ShopViewModelin other parts of our application — there’s no way to do that except for creating another instance ofShopViewModel. Considering thatShopViewModeluses aShopRepository— we really want should avoid creating multiple instances of our data source. We can use anobjector a singleton pattern, but there’s an easier way to do that with DI.The amount of boilerplate code that needs to be written to create a single dependency.
Let’s see how we can address these problems.
Step 1: Abstract away the creation of dependencies
The first step is to delegate the creation of our dependencies to a separate class. We can do this by building a container.
class AppContainer {
    private val db =
        Room.databaseBuilder(applicationContext, MyDatabase::class.java, "my-database-name").build()

    private val localDataSource = ShopLocalDataSource(db)
    private val remoteDataSource = ShopRemoteDataSource()

    private val shopRepository = ShopRepository(localDataSource, remoteDataSource)

    val shopViewModel = ShopViewModel(shopRepository)
}
As you can see, only the shopViewModel is exposed for access. So far, we only need access only to shopViewModel, so we can make the rest of the dependencies private.
Step 2: Initialize the container in the Application class
An Application class in our case is the Android Application. In the MyApplication class, we initialize the AppContainer and store it in a public valproperty. This gives us two benefits:
Our
AppContaineris now available anywhere in our app.Since we only have one
Applicationclass instance per our application by default — this ensures that we also have a single instance of theAppContaineras well.
class MyApplication : Application() {
   val appContainer = AppContainer()
}
Step 3: Glue it all together
Finally, we can inject our ShopViewModel via our newly created Container. First, let’s declare our ShopViewModel variable as lateinit. This gives our compiler a guarantee that this variable will be initialized later on. After that, we can get the instance of our ShopViewModel that was already created for us by going referencing MyApplication -> AppContainer -> ShopViewModel. Our ShopViewModel is already created for us the moment our Application is created, so all we need to do is reference it.
class ShopActivity: Activity() {

  private lateinit var shopViewModel: ShopViewModel

  override fun onCreate(savedInstanceState: Bundle?) {
      super.onCreate(savedInstanceState)
         shopViewModel = (applicationContext as MyApplication).appContainer.shopViewModel
  }
}
Field injection
But wait, you might say. This looks different from the constructor injection that we were doing in the previous article. And you’re right. This type of injection is called field injection.
We can’t do constructor injection in our Activities for one simple reason. We can’t explicitly create Activities or other Android components for this matter like Services, Broadcast Receiver, etc. The system creates these components for us, and therefore we can’t perform constructor injection with them. So if you have any classes that you’re not creating yourself — the only way you can use DI with them is by field injection.
Injecting a Different Instance Every Time
In some cases, you may need a different instance of a dependency every time it’s used. For example, let’s imagine that we need a different instance of ShopViewModel in different parts of the app. In this case, you can use a Factory to create a new instance of the dependency every time it's needed. Let’s see how we can do that:
interface Factory<T> {
   fun create(): T
}

class ShopViewModelFactory(private val shopRepository: ShopRepository) : Factory<ShopViewModel> {
   override fun create(): ShopViewModel {
       return ShopViewModel(shopRepository)
   }
}

class AppContainer {
   private val shopRepository = ShopRepository(localDataSource, remoteDataSource)
   val shopViewModelFactory = ShopViewModelFactory(shopRepository)
}
First, we define a generic Factory interface. Then we inherit from this interface in our ShopViewModelFactory class. Each time the create() method is called — we will get a different instance of ShopViewModel. Now let’s inject this into our ShopActivity:
class ShopActivity: Activity() {

  private lateinit var shopViewModel: ShopViewModel

  override fun onCreate(savedInstanceState: Bundle?) {
      super.onCreate(savedInstanceState)
         shopViewModel = (applicationContext as MyApplication).appContainer.shopViewModelFactory.create()
  }
}
This code is almost identical to our previous example, except that now we’re exposing the Factory that produces our ShopViewModel instead of creating the ShopViewModel ourselves. With this setup, we will be able to get a new instance of ShopViewModel each time.
Scoped Dependencies
In some cases, you may need a dependency to be scoped to a particular part of the app. By scoped I mean that it should “live” as long as the component in which it is located “lives”. For example, take a look at the picture below:
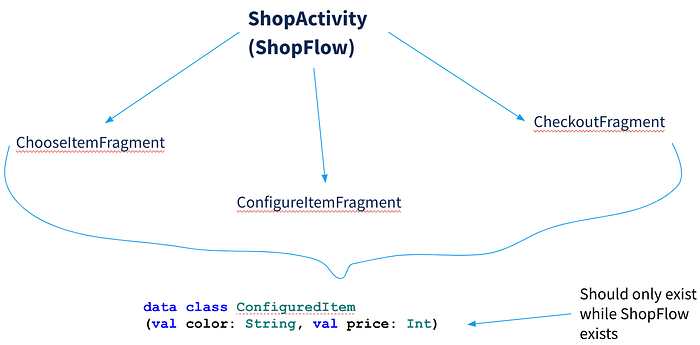
Let’s imagine we’re configuring some product in our Shop flow. The configuration of that product needs to exist as long as our ShopActivity exists — even when we navigate through our Fragments back and forth. But it doesn’t need to exist longer than ShopActivity— because it won’t be relevant in other parts of the app.
Let’s imagine that the configuration of our product will be stored in something like this:
data class ConfiguredItem(val color: String, val price: Int)
In order for the ShopActivity to have scoped dependencies. — the first thing that we need to do is to create a container specifically for the ShopActivity. This container should live only as long as the ShopActivity lives. Let’s define a ShopContainer:
class ShopContainer(shopRepository: ShopRepository) {
   val configuredItem = ConfiguredItem("", 0)
   //shopRepository used for some other dependencies
}
In the ShopContainer class, we define a configuredItem property that stores the ConfiguredItem instance. Since ConfiguredItem is only needed inside our Shop flow it makes sense to put it inside a container that’s scoped to this flow. Let’s also imagine that ShopContainer takes ShopRepository as a dependency for some other dependencies. Now let’s proceed to enclose our ShopContainer:
class AppContainer {
   val shopRepository = ShopRepository(localDataSource, remoteDataSource)
   var shopContainer: ShopContainer? = null
}
In the AppContainer class, we define a shopContainer property that stores the ShopContainer instance. By using a nullable var property, we can create and destroy the ShopContainer instance as needed. Now let’s see how we can use our scoped ConfiguredItem inside ShopActivity:
class ShopActivity : Activity() {
    private lateinit var configuredItem: ConfiguredItem
    override fun onCreate(savedInstanceState: Bundle?) {
        super.onCreate(savedInstanceState)
        val appContainer = (application as MyApplication).appContainer
        appContainer.shopContainer = ShopContainer(appContainer.shopRepository)
        configuredItem = appContainer.shopContainer!!.configuredItem
    }

    override fun onDestroy() {
        super.onDestroy()
        (application as MyApplication).appContainer.shopContainer = null
    }
}
First, inside onCreate()we build the AppContainer. Then, we initialize the ShopContainer inside AppContainer by passing the ShopRepository dependency from the latter. After that, we initialize the ConfiguredItem instance that needs to live as long as the ShopActivity does. Finally, we need to free up the memory that was allocated to the ShopContainer when ShopActivity is destroyed. We do this by simply overriding onDestroy() and assigning a null value to our ShopContainer variable inside AppContainer.
And that’s it. Now you have a dependency that’s scoped exclusively to the Shop flow.
Advantages vs disadvantages of manual DI.
Manual dependency injection has several advantages and disadvantages.
Advantages:
- Total control and understanding over everything you write.
Disadvantages:
Lots of boilerplate code.
You have to manage the lifecycle of dependencies yourself.
Dependency Injection Best Practices
To make the most of dependency injection, there are some best practices you should follow.
- Expose the Policy, Hide the Detail
Let’s look at our good ol’ Computer class:
interface IProcessor {
   fun process()
}

class Computer(private val processor: IProcessor) {
    fun compute() {
        processor.process()
    }
}
In the Computer class, we define a compute() method that uses an instance of IProcessor to compute something. By using an interface, we can easily swap out the implementation of IProcessor whenever we need to without changing the Computer class.
2. Follow the Single Responsibility Principle (SRP)
The Single Responsibility Principle (SRP) states that a class should have only one reason to change. In the context of dependency injection, this means you have to define dependencies in a separate class that has its own responsibility.
Let’s look at this piece of code:
class UserService(private val databaseUrl: String) {
   fun getUser(id: Int): User? {
       val databaseConnection = DatabaseConnection(databaseUrl)
       val userRepository = UserRepository(databaseConnection)
       return userRepository.getUserById(id)
   }
}
Can you tell how it’s violating the SRP? The main responsibility of this class should get getting the user. However, in the example above it’s also responsible for creating the dependencies that it needs. To remedy this, we should pass UserService all of the dependencies that it needs without it having to create them itself. Here is the proper implementation:
class UserService(private val userRepository: UserRepository) {
   fun getUser(id: Int): User? {
       return userRepository.getUserById(id)
   }
}
This follows the SRP by defining the dependency in a separate class.
3. Use DI libraries
If you’re writing a production app — it’s much better to use a library than having to use manual DI. DI libraries were written and are supported by very smart people. They have lots of features that can save you a lot of time and headache. There are many DI libraries for Android and Kotlin, but the most popular are — Dagger2, Hilt, Koin, and Kodein.
Recap
Dependency injection is a technique that allows you to decouple components and improve the testability of your code. In this article, we covered manual dependency injection in Kotlin and Android, which involves defining dependencies in a container or a factory and injecting them into the classes that need them. We also covered best practices such as exposing the policy and hiding the detail, following the SRP, and using DI libraries. By using these techniques, you can make your code more modular, testable, and maintainable.
Sources:
Android Manual DI training — https://developer.android.com/training/dependency-injection/manual