Beginners Guide to Making API calls in Android
A Journey from Understanding to Implementing API Calls in android apps
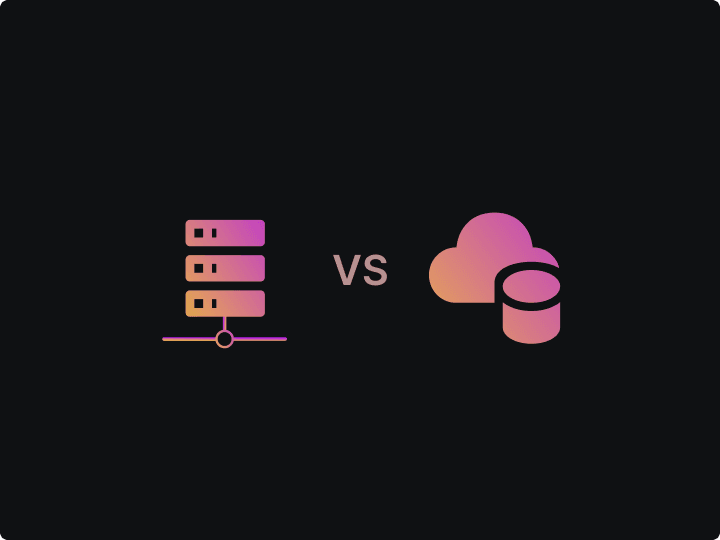
An API, or Application Programming Interface, can seem intimidating to those new to programming or unfamiliar with APIs. However, think of an API as a restaurant menu: just as a customer orders food without knowing how it is prepared, an API allows an application to request data without understanding the details of data retrieval or storage.
Role of APIs in Android Dev
APIs form the backbone of modern Android applications. They allow apps to access data from the internet, communicate with hardware, interact with other apps, and much more.
Android developers use APIs provided by the Android operating system to interact with device hardware and software, such as the Camera API or the Location API. However, this guide focuses primarily on web APIs, which facilitate communication between an Android app and a server over the internet.
From displaying weather information fetched from a weather API to signing in with Google using the Google Sign-In API, APIs are integral to Android app development. In fact, it's challenging to find an app that doesn't utilize an API in some form. Hence, mastering API calls is an essential skill in the toolkit of any budding Android developer.
Basic API Concepts
Let's learn about the key terms and concepts that are integral to understanding APIs and how they function.
HTTP and APIs
The Hypertext Transfer Protocol (HTTP) serves as the foundation of any data exchange on the Web and is a protocol used for transmitting hypermedia documents, such as HTML.
It's important to understand that when we're dealing with APIs, we're often dealing with HTTP-based APIs.
Endpoints
When it comes to APIs, an endpoint is essentially a specific URL where an API can be accessed. Each endpoint corresponds to a specific function on the server – whether it's retrieving data, updating data, or deleting data.
For instance, if we have a weather API, the URL '**https://api.weather.com/v1/forecast**' might be an endpoint that gives us the weather forecast.

HTTP Methods
HTTP methods dictate what type of action we're trying to perform with our API request. The most common ones you'll come across are GET, POST, PUT, and DELETE.
GET: This method is used to retrieve data from an API endpoint. For instance, we might use a GET request to fetch the current weather information from a weather API.POST: This method is used to send new data to an API endpoint. In the context of a social media app, for example, a POST request might be used to create a new status update.PUT: This method is used to update existing data on an API endpoint. Using the previous social media app example, a PUT request might be used to update an existing status update.DELETE: As the name suggests, this method is used to delete data on an API endpoint.
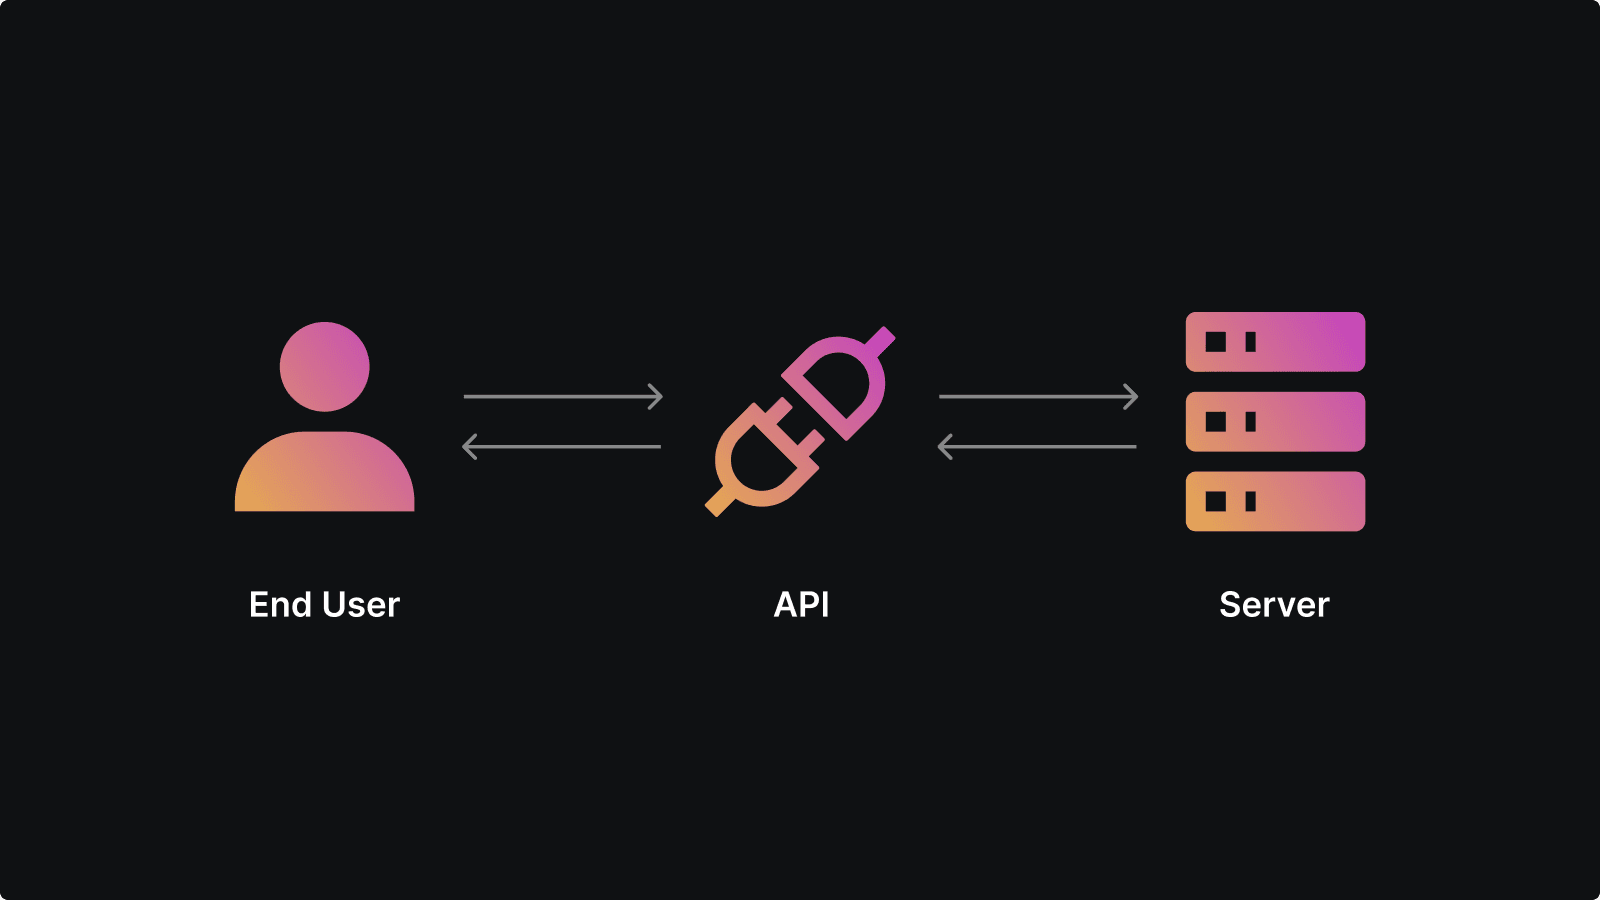
Requests and Responses
In the world of APIs, the terms "request" and "response" are used frequently. When an app makes an API call, it sends a request to the API.
This request includes the HTTP method, headers, and sometimes a body (typically with POST and PUT requests).
The API then processes this request and returns a response. The response also contains headers and a body, which often contains the requested data in a format like JSON or XML.
Headers
Headers provide metadata for the HTTP request and response.
They can contain information such as the content type, authorization details, and more.
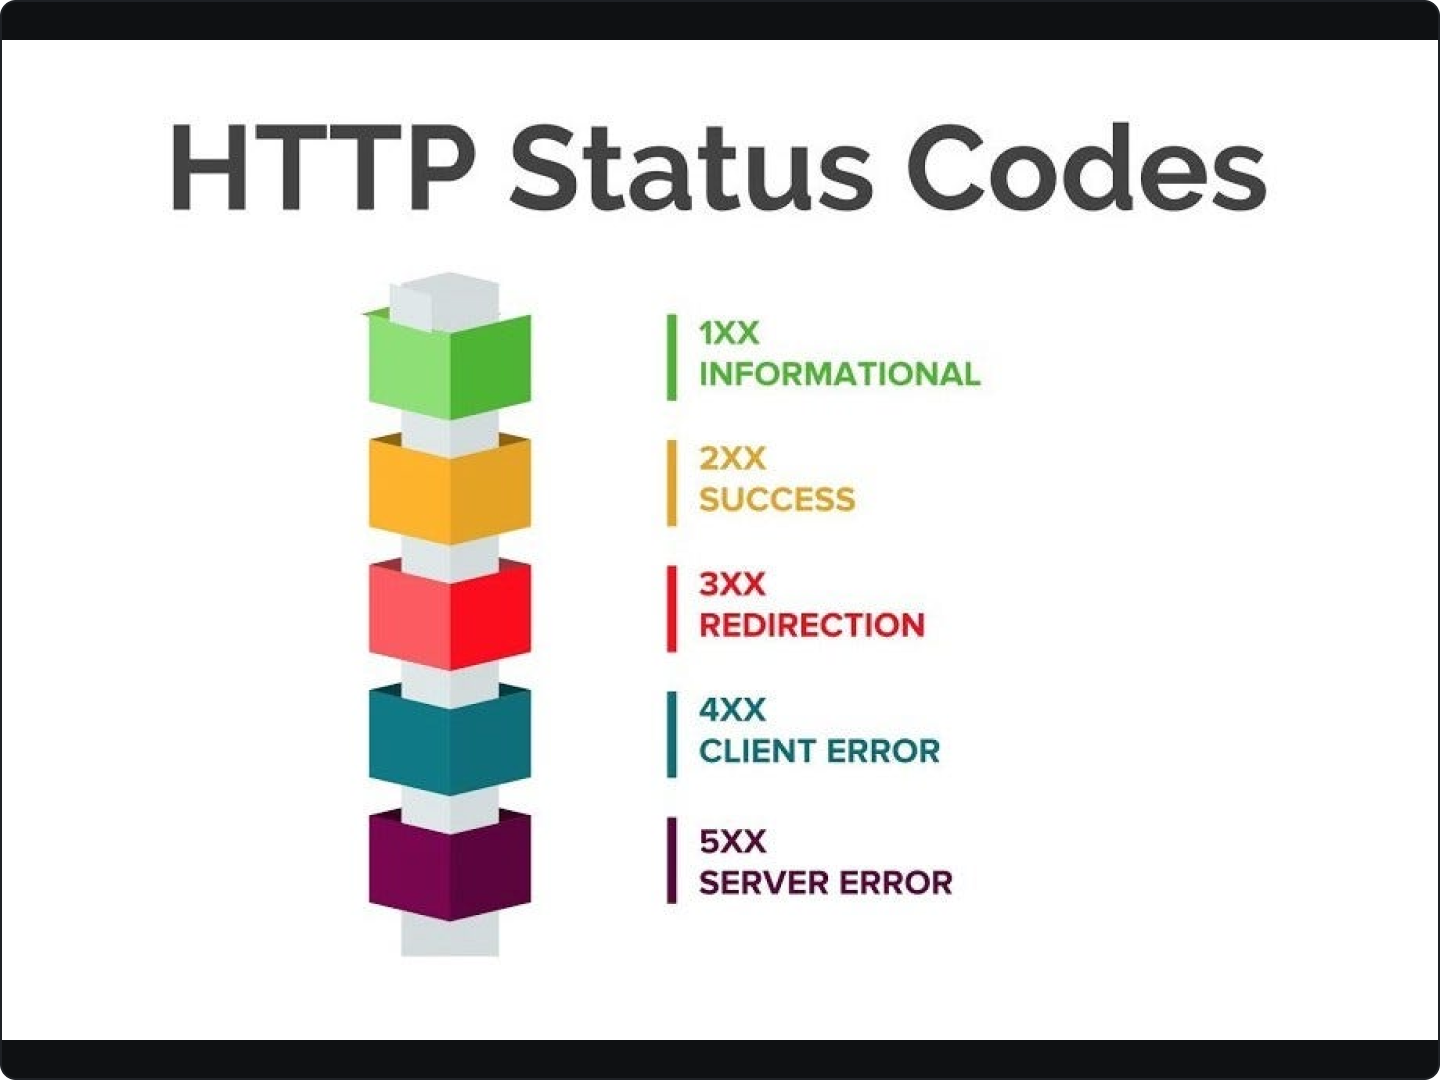
Status Codes
HTTP status codes are standard response codes given by website servers on the internet.
They help identify the cause of the problem when a web page or other resource does not load properly.
Understanding these basic concepts can significantly improve the effectiveness and efficiency of using APIs in Android development.
Tools for Making API Calls
1. Postman
Postman is a platform that provides features for testing, developing, and documenting APIs. It allows developers to construct and test different types of HTTP requests, analyze responses, and even automate testing of the APIs.
It's particularly useful in the early stages of development when the API functionality is being tested.
Learn more about sending your first API request at learning.postman

2. HttpURLConnection and java.net.URL
When it comes to making HTTP requests in Java, HttpURLConnection and java.net.URL are some of the foundational classes provided by the JDK.
These classes are part of Java's networking package and provide methods to create connections, set request types, manage headers, and more.
  // Creating a GET request with HttpURLConnection
  URL url = new URL("https://api.weather.com/v1/forecast");
  HttpURLConnection conn = (HttpURLConnection) url.openConnection();
  conn.setRequestMethod("GET");
3. OkHttp
OkHttp is an open-source library designed specifically for Android that makes it easier to make HTTP requests. It's more efficient and flexible than HttpURLConnection.
With features like connection pooling, gzip compression, and recovery from network problems, OkHttp provides a powerful tool for any Android developer.
  // Making a GET request with OkHttp
  OkHttpClient client = new OkHttpClient();

  Request request = new Request.Builder()
    .url("https://api.weather.com/v1/forecast")
    .build();

  Response response = client.newCall(request).execute();
4. Retrofit
Retrofit is another open-source library for Android. Built on top of OkHttp, Retrofit turns your HTTP API into a Java interface.
It's a type-safe REST client for Android and Java which intelligently maps an API into a client interface using annotations.
Refer to this article to learn more about using retrofit: Retrofit for network calls
Building a Simple Android App to Make API Calls
API calls are integral to most Android applications, allowing us to fetch data from external sources. We will be exploring how to build a basic Android application that makes API calls using the powerful Retrofit library.
Project Initialization
Create a fresh Android project in Android Studio. Opt for the 'Empty Activity' template, and name your project.
After creating the project, navigate to the
build.gradle (Module: app)file.
Integrating Necessary Libraries
Before getting started, we need to integrate Retrofit and GSON into our project. Add the following lines in the
dependenciesblock inbuild.gradle (Module: app):dependencies { implementation 'com.squareup.retrofit2:retrofit:2.9.0' implementation 'com.squareup.retrofit2:converter-gson:2.9.0' }After adding these lines, synchronize the project with Gradle files. Android Studio will download and integrate the libraries with the project.
Creating the Data Model
Before making API calls, it's crucial to define a model class that corresponds to the data structure we expect from the API.
For example, if we're planning to retrieve a list of users, where each user possesses attributes like
name,email, andphone, ourUsermodel class will look like this:public class User { private String name; private String email; private String phone; // Include getters and setters for these fields }
Setting up Retrofit
Next, we have to define an interface which specifies our API endpoints. For instance, if our user data is located at
https://api.example.com/users, our Retrofit interface would be:public interface ApiService { @GET("users") Call<List<User>> getUsers(); }Then, we need to create an instance of Retrofit, which will be used to execute the network requests:
  Retrofit retrofit = new Retrofit.Builder()
      .baseUrl("https://api.example.com/")
      .addConverterFactory(GsonConverterFactory.create())
      .build();

  ApiService apiService = retrofit.create(ApiService.class);
Executing the API Call
After setting up Retrofit and defining your API endpoints, the next step is to use this setup to perform API calls. The approach may vary slightly depending on the type of the API call (GET, POST, PUT, DELETE), but the general process remains the same.
Making the Call
In our case, we're retrieving a list of users, which is a GET request. Here's how you initiate this call:
Call<List<User>> call = apiService.getUsers();
The getUsers() function corresponds to the @GET("users") endpoint we defined in our ApiService interface. It returns a Call object, which represents a single network request.
Handling the Response
After making the call, we need to handle the server's response. To do this, we use the enqueue() function to send the request asynchronously. This function requires a Callback object, where we define how to handle the response and any potential errors:
call.enqueue(new Callback<List<User>>() {
    @Override
    public void onResponse(Call<List<User>> call, Response<List<User>> response) {
        if (!response.isSuccessful()) {
            // Handle the error scenario here
            return;
        }

        List<User> users = response.body();
        // Update your UI with the list of users
    }

    @Override
    public void onFailure(Call<List<User>> call, Throwable t) {
        // Handle the failure scenario here
    }
});
The
onResponse()method is triggered when a response is received, regardless of whether the request was successful or not. Inside this method, we first check if the response is successful by callingresponse.isSuccessful(). If it returns false, it means that the server has returned an unexpected HTTP status code, and you should handle this error scenario.If the response was successful, you can retrieve the returned data by calling
response.body(). This will give you a list ofUserobjects, which you can then use to update your UI.
This way, you can execute an API call in your Android app and handle all possible outcomes. As your application grows in complexity, you might find yourself dealing with a variety of different API calls and responses, but the fundamental concepts will remain the same.
Error Handling in API Calls
Making API calls isn't always a smooth process. Errors can and will occur, and an application should be built to handle these gracefully.
Understanding HTTP Status Codes
When an API request is made, the server responds with an HTTP status code. These codes help understand how the server processed the request. For instance, a 200 status code indicates a successful request, while a 404 status signifies that the requested resource couldn't be found.
Detecting Error Scenarios
In Retrofit, the Response object's isSuccessful() method checks whether the response status code is in the range 200-299, indicating success. If not, an error has occurred:
if (!response.isSuccessful()) {
    // An error occurred
}
To retrieve the actual status code, use the code() method:
int statusCode = response.code();
This allows to handle different error scenarios based on the status code.
Processing Server Errors
Sometimes, the server might return an error message in the response body. To access this message, use the errorBody() method:
if (!response.isSuccessful()) {
    ResponseBody errorBody = response.errorBody();
    // Process the server's error message
}
Remember, the error body needs to be processed, typically as a string or a JSON object.
Handling Network Errors
Network issues like no internet connection or a timeout result in the onFailure() method of the Callback being called. These issues don't yield an HTTP status code since the server wasn't reached:
@Override
public void onFailure(Call<List<User>> call, Throwable t) {
    // A network error occurred
}
Refer to this link to understand debugging network calls in retrofit
Dealing with Data Conversion Errors
Data conversion errors can occur when the received response does not match the expected data format. For instance, you might expect an integer but receive a string instead. These issues typically manifest during the JSON deserialization process.
Such errors lead to exceptions such as JsonSyntaxException when using Gson converter, and are typically handled in the onFailure() method:
@Override
public void onFailure(Call<List<User>> call, Throwable t) {
    if (t instanceof JsonSyntaxException) {
        // Handle the JSON conversion error
    } else {
        // Handle other network errors
    }
}
Effective error handling is fundamental to building resilient Android apps. An app that gracefully handles errors, presenting clear messages to the users, stands a cut above the rest.
Refer to this article to learn more about debugging crash issues in Android.
API Security
When interacting with APIs, it's vital to ensure the data being transferred remains secure. This is to protect your app, the server, and most importantly, your users.

Secure Transport with HTTPS
Firstly, always use HTTPS (HTTP Secure) for API calls. HTTPS ensures that the data transferred between your app and the server is encrypted and secure. This makes it much harder for malicious parties to intercept and understand the data.
When using Retrofit and OkHttp, they'll automatically use HTTPS if the base URL provided starts with
https://.
Authentication & Authorization with Tokens
Many APIs require some form of authentication or authorization. This is often achieved through tokens, like an API key or an OAuth token.
These tokens are typically included in the HTTP headers of your requests.
FAQs on API calls in Android
Why am I getting a 'JsonDataException' when using Retrofit?
This error typically occurs when the JSON response from the server doesn't match the expected format defined by your model classes.
Carefully review your model classes to ensure they match the server's response structure.
Why are my API calls slow and how can I improve this?
Slow API calls can result from a number of issues: large payloads, slow server response, or poor network conditions.
To improve this, optimize data payloads, implement caching where possible, or consider using a CDN for faster content delivery.
Conclusion
Navigating the world of API interactions in Android is a journey filled with learning. We've traversed from understanding the basics of APIs to managing API calls with Retrofit and OkHttp, from creating a practical Android app to handling API errors, and finally securing our API communications. These learnings arm you with the knowledge and tools to build robust, secure Android apps that effectively interact with APIs.
Remember, the tech world is a vast expanse waiting to be explored, and as developers, we are the astronauts. Happy coding!